Discover the joy of creating cozy mittens with free PDF sewing patterns. Perfect for all skill levels, these patterns offer various styles, fabrics, and sizes for kids and adults.
1.1 Overview of Mitten Sewing
Mitten sewing is a fun and rewarding DIY project that offers endless creativity. With free mitten sewing patterns, you can create cozy, customized gloves for any occasion. These patterns are available in various styles, from classic designs to modern interpretations, ensuring there’s something for everyone. Whether you prefer flannel, fleece, or even recycled sweaters, the options are vast. Suitable for both beginners and experienced sewists, these patterns often include step-by-step instructions and photos to guide you through the process. Many free PDF patterns are designed for multiple sizes, making it easy to sew mittens for kids and adults alike. This project is perfect for crafting gifts or personalizing your winter wardrobe with unique, handmade accessories.
1.2 Benefits of Using Free PDF Patterns
Using free PDF mitten sewing patterns offers numerous advantages for sewists of all levels. These patterns are readily accessible, allowing you to download and print them instantly. Many free PDF patterns include detailed instructions and photos, making it easier to follow along, even for beginners. They often come in multiple sizes, ensuring a perfect fit for kids and adults. Additionally, these patterns enable customization, letting you choose fabrics and styles to suit your preferences. Best of all, they’re cost-effective, saving you money while still providing high-quality designs. With free PDF patterns, you can explore various mitten styles, from simple to intricate, and enjoy the satisfaction of creating something handmade. They’re a great way to start or expand your sewing projects without financial commitment.

Materials and Fabric Selection
Choose warm, durable fabrics like flannel or fleece for your mittens. These materials are perfect for cold weather and easy to work with, ensuring comfort and durability for all skill levels.
2.1 Fabric Requirements for Mittens
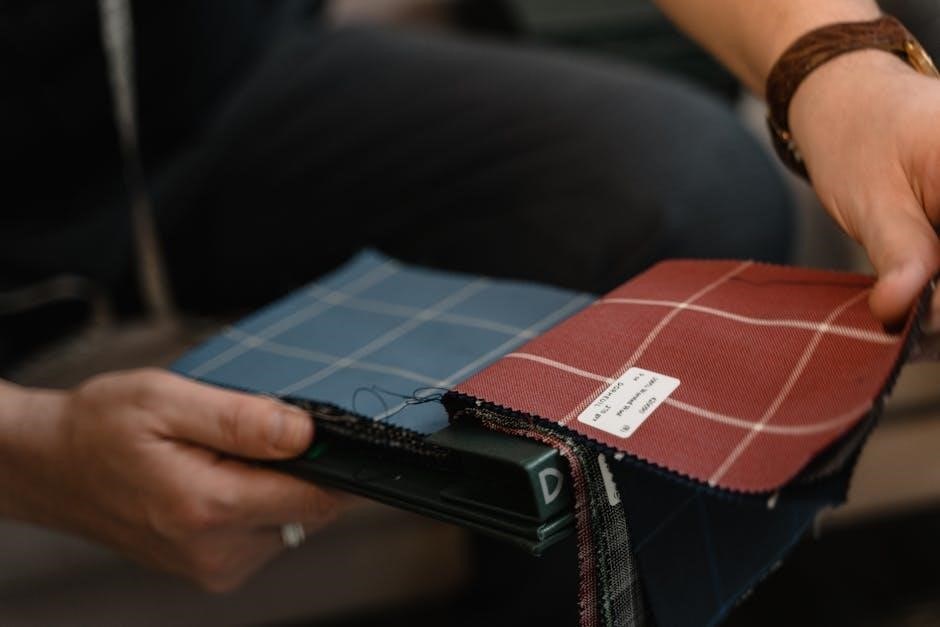
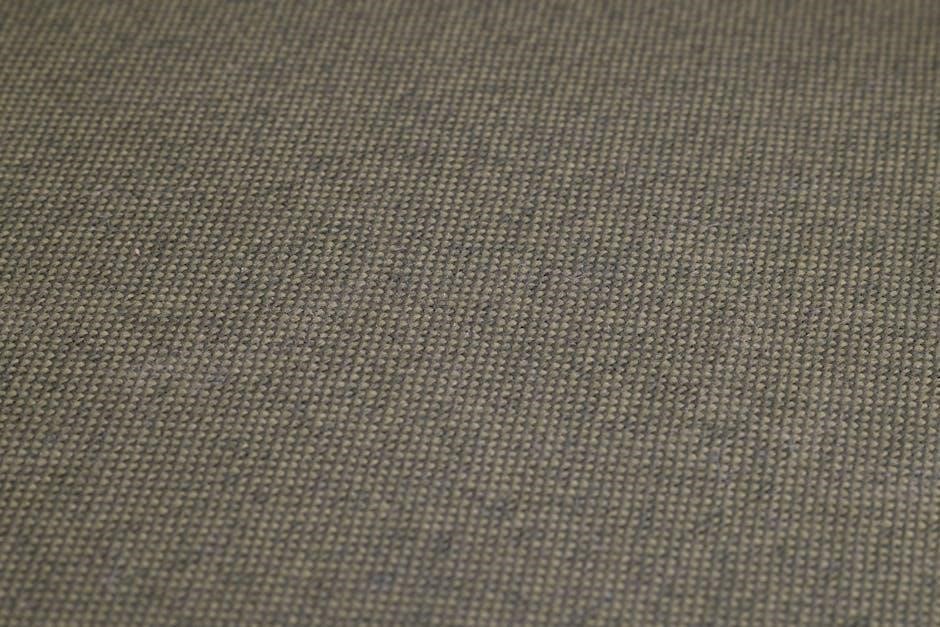
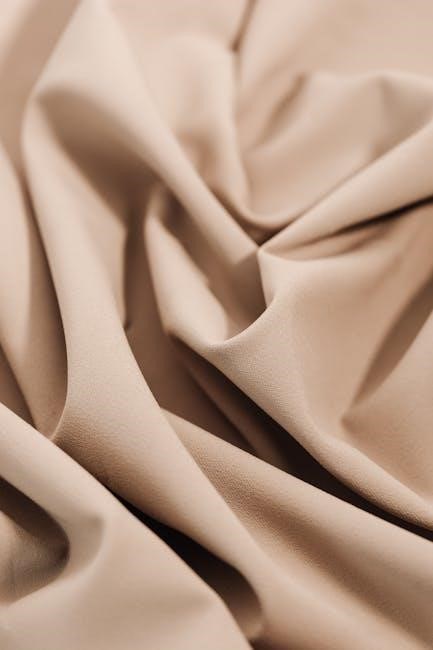
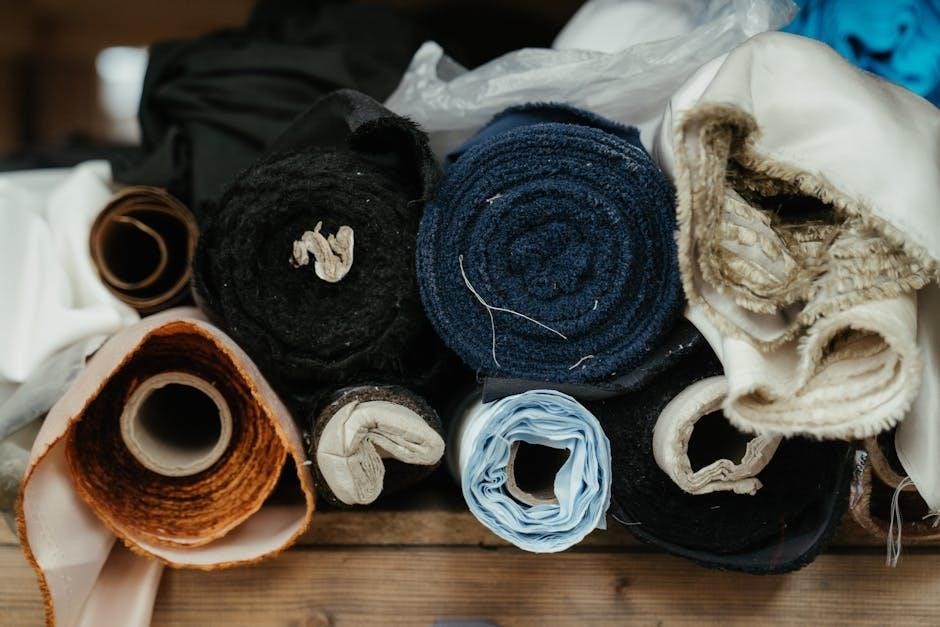
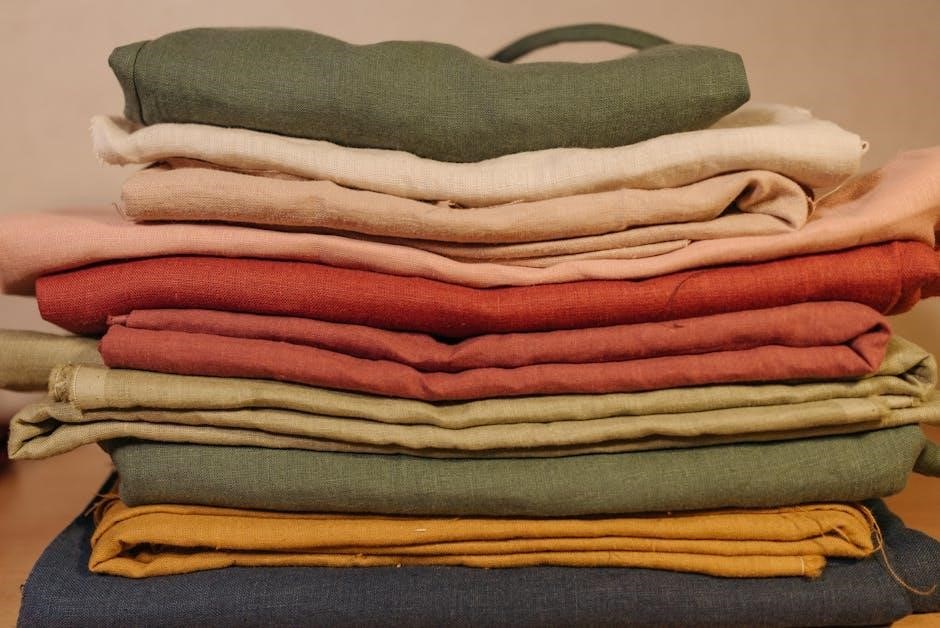
When sewing mittens, choose fabrics that offer warmth, durability, and comfort. Flannel and fleece are popular choices due to their softness and insulating properties. For a more luxurious feel, consider materials like faux fur or stretch knits, which provide flexibility. Ensure the fabric has the right weight and thickness to suit the season. For example, lighter fabrics are ideal for spring, while heavier ones like wool or sherpa are better for colder months. Always pre-wash fabrics to avoid shrinkage and ensure proper fit. Additionally, consider using water-resistant or waterproof materials for outdoor mittens. The choice of fabric will directly impact the comfort, functionality, and appearance of your finished mittens.
2.2 Recommended Fabrics: Flannel, Fleece, and More
For sewing mittens, flannel and fleece are top choices due to their warmth and softness. Flannel is ideal for colder climates, offering excellent insulation, while fleece provides lightweight warmth and flexibility. Both fabrics are easy to work with and come in a variety of colors and patterns. For a luxurious touch, consider faux fur or sherpa lining, adding extra comfort and style. Stretch knits like jersey or velour are great for active use, ensuring a snug fit. Recycled materials, such as repurposed sweaters, are eco-friendly and add a unique texture; When choosing fabric, consider the season, intended use, and personal preference to ensure your mittens are both functional and stylish.
2.3 Tools and Supplies Needed
To successfully sew mittens, you’ll need a few essential tools and supplies. Start with a sewing machine and basic sewing notions like sharp scissors, pins, and a measuring tape. A rotary cutter and mat are helpful for precise fabric cutting, while a ruler ensures accuracy. Don’t forget an iron and ironing board for pressing seams. For hand-sewing, keep a seam ripper and assorted sewing needles on hand. Use high-quality thread that matches your fabric. Optional tools include a serger for finishing seams and a walking foot for thick fabrics. Gather these supplies to streamline your mitten-sewing process and achieve professional results.

Step-by-Step Sewing Tutorials
Start by preparing your mitten pattern, then cut fabric pieces accurately. Sew the body, assemble thumbs and fingers, and finish seams for a professional look.
3.1 Preparing the Mitten Pattern
Start by downloading your chosen free mitten sewing pattern in PDF format; Ensure your printer settings are correct to avoid resizing. Print the pattern on standard paper and assemble it if necessary. Trace the pattern onto your fabric, considering the grain line for accuracy. Measure your hand to confirm sizing, adjusting the pattern if needed. Cut out the fabric pieces carefully, ensuring all notches and markings are transferred. This step sets the foundation for a well-fitted mitten. For beginners, consider making a test mitten to check fit before cutting your final fabric. Proper preparation ensures a smooth sewing process.
3.2 Cutting Out Fabric Pieces
Carefully lay your fabric on a flat surface, aligning the grain line with the pattern. Use scissors or a rotary cutter for precise cuts. Ensure all pattern pieces are accurately traced and cut, including any lining or cuff sections. For stretchy fabrics, consider stabilizing with interfacing. Cut two main mitten pieces, one for the palm and one for the back. If using faux fur or fleece, cut gently to avoid distorting the fabric. Transfer all notches and markings to guide sewing. For symmetry, cut both pieces simultaneously. Double-check your cuts before proceeding to ensure accuracy. Proper cutting ensures a professional finish and proper fit.
3.3 Sewing the Mitten Body
Begin by placing the mitten pieces right sides together, aligning all edges and notches. Sew around the perimeter using a 1/2-inch seam allowance, leaving a small gap for turning. Ensure the thumb is positioned correctly before sewing. For stretchy fabrics, use a stretch stitch or zigzag to maintain flexibility. Backstitch at the beginning and end for durability. If using faux fur or lining, sew these layers separately first. Carefully sew around curves, taking small stitches to maintain shape. Avoid puckering by sewing steadily and evenly. Once sewn, trim excess fabric and clip curves for a smooth finish. Turn the mitten right side out through the gap, ensuring all seams are fully enclosed. Press the seams flat with an iron for a crisp finish. This step forms the foundation of your mitten, so precision is key for a professional result.
3.4 Assembling the Thumb and Fingers
Once the mitten body is sewn, focus on assembling the thumb and fingers. For patterns with separate thumb pieces, pin the thumb to the mitten body, aligning the marked edges. Sew in place, ensuring a secure fit. If your pattern includes finger divisions, sew each finger section separately before attaching them to the mitten body. Use a 1/2-inch seam allowance and backstitch at the beginning and end for strength. For mittens without fingers, simply sew the thumb and ensure proper alignment. Stretchy fabrics may require a zigzag stitch for flexibility. After sewing, trim excess fabric and clip curves for a smooth finish. Turn the mitten right side out and press seams to create a crisp, professional look. Ensure the thumb is comfortably positioned for ease of movement. Refer to the free PDF instructions for detailed guidance on assembling these components accurately.
3.5 Finishing Seams and Edges
After sewing the mitten body, thumb, and fingers, it’s time to finish the seams and edges for a polished look. Trim excess fabric close to the seams, being careful not to cut too close to the stitching. For a professional finish, use a zigzag stitch or serger on raw edges to prevent fraying. Optionally, bind the edges with bias tape or fold them inward for a clean appearance. For stretchy fabrics, ensure seams are secure with a stretch stitch. Once all seams are finished, turn the mittens right side out and press them with an iron to flatten the seams. This step ensures a smooth, professional finish. Properly finishing seams and edges enhances durability and comfort, making your mittens last longer and feel cozy.

Customization Options
Elevate your mittens with embellishments like faux fur trim or appliques. Incorporate recycled materials or add a cozy lining. Customize sizes and styles for a unique, personalized touch.
4.1 Adding Embellishments
Adding embellishments to your mittens is a great way to personalize them. Consider adding faux fur trim for a luxurious touch or appliques for a playful design. You can also use stretch fabrics like velour or suede for a modern look. Upcycle old sweaters to create unique textures and patterns. Embellishments like buttons, embroidery, or ribbons can add a decorative finish. These details not only enhance the aesthetic but also allow you to express your creativity. Whether you’re making mittens for kids or adults, embellishments can make the design stand out. Experiment with different materials and styles to create one-of-a-kind mittens that reflect your personal taste.
4.2 Incorporating Faux Fur or Lining
Incorporating faux fur or lining into your mitten sewing project adds warmth and style. Faux fur trim can create a luxurious look, while a soft lining enhances comfort. Use light to medium-weight knit fabrics like fleece, velour, or stretch suede for a cozy feel. Consider adding a cuff or ribbing for a polished finish. Faux fur trim is easy to sew and can be applied to the edges or cuffs of the mittens. For a lining, choose materials like fleece or flannel to add extra warmth. These additions not only improve functionality but also give your mittens a professional touch. Experiment with different fabrics and trims to create unique and stylish designs.
4.3 Adjusting Sizes for Kids and Adults
Adjusting mitten sizes for kids and adults ensures a perfect fit. Many free PDF patterns offer multiple sizes, from small to large, catering to different age groups. For kids, sizes range from ages 2-14, while adult sizes fit various hand lengths. Measure hand circumference and length to choose the right size. Some patterns allow for customization, enabling you to tweak dimensions for a tailored fit. Print and test a sample mitten to ensure accuracy. This feature makes sewing mittens for the whole family easy and efficient. Adjusting sizes ensures comfort and functionality, whether for children or adults.
Sizing and Fit
Free PDF mitten patterns often include multiple sizes, ensuring a perfect fit for kids and adults. Measure hand length and circumference for accuracy. Proper fit enhances comfort and functionality.
5.1 Standard Sizes for Mittens
Free mitten sewing patterns typically offer standard sizes to accommodate various hand sizes and age groups. Patterns often include Small, Medium, and Large options, with Small fitting children aged 2-5, Medium for 6-8 years, and Large for 9-14 years. Some patterns are designed for a medium/large lady’s hand, ensuring a comfortable fit. Many free PDF patterns come in multiple sizes, allowing sewists to create mittens for the entire family. Accurate measurements of hand length and circumference are crucial for the best fit. By following the size guides provided with the patterns, you can ensure your mittens are comfortable and functional.
5.2 Creating Custom Fits
Creating a custom fit for your mittens ensures comfort and functionality. Start by taking accurate hand measurements, including the length from wrist to fingertip and the circumference around the palm. Use these measurements to adjust standard patterns or create a tailored fit. Many free PDF patterns allow for customization, such as altering cuff lengths or finger widths. For a perfect fit, test your adjustments with scrap fabric before sewing the final mittens. Consider adding stretchy fabrics or elastic for a snug yet flexible fit. Customizing your mittens ensures they meet your specific needs, whether for warmth, durability, or style. This step is especially useful for unique hand shapes or preferences.
5.3 Measuring Hands for Accuracy
Measuring your hands accurately is crucial for a perfect fit. Use a flexible tape measure to determine hand length, palm circumference, and finger length. For hand length, measure from the wrist crease to the tip of the longest finger. For palm circumference, wrap the tape around the widest part of the palm. Adjust patterns based on these measurements for a custom fit. Consider hand shape and finger dexterity for comfort. Test measurements with scrap fabric to ensure accuracy before sewing. This ensures your mittens are tailored to your unique hand shape, providing optimal comfort and functionality. Proper measurement guarantees a professional finish and satisfied wearers.
Tips for Beginners
Choose the right fabric, master basic sewing techniques, and troubleshoot common mistakes with these essential tips for beginners to build confidence and skill.
6.1 Choosing the Right Fabric
Selecting the right fabric is crucial for mittens. Flannel and fleece are popular choices for their warmth and ease of sewing. Consider stretchy fabrics like jersey or velour for a snug fit; Faux fur and recycled materials add a stylish or eco-friendly touch. Ensure the fabric has the right weight and drape for the season. For beginners, opt for medium-weight fabrics that are manageable. Always pre-wash and dry fabrics before cutting to avoid shrinkage. Refer to your free PDF pattern for specific fabric recommendations to ensure your mittens turn out warm and comfortable.
6.2 Mastering Basic Sewing Techniques
Mastering basic sewing techniques is essential for creating well-made mittens. Start by understanding how to align fabrics properly and pin pieces accurately. Practice sewing straight lines and curves, as mittens often involve rounded shapes. Learn to work with stretchy fabrics like fleece or jersey, ensuring a snug fit. Pay attention to seam allowances, typically 1/2 inch for mittens. Use a walking foot or Teflon foot for smooth stitching. Follow the free PDF pattern instructions for assembly, ensuring right sides are together. Don’t forget to leave a small opening for turning the mittens right side out. With practice, you’ll achieve professional results and enjoy the satisfaction of handmade mittens.
6;3 Troubleshooting Common Mistakes
When sewing mittens, common mistakes include incorrect sizing, uneven seams, and fabric misalignment. To avoid this, ensure accurate measurements and proper fabric pinning. If the mittens are too tight, check the seam allowance, as using a larger allowance can reduce fit issues. For fabric that stretches, use a walking foot to maintain stability. If the thumbs are misaligned, double-check the free PDF pattern placement. After sewing, turn the mittens right side out carefully to avoid tearing seams. Topstitching can help reinforce edges and hide minor errors. Practice makes perfect, so don’t hesitate to test patterns with scrap fabric before cutting into your final material.
Advanced Sewing Tips
Enhance your mitten sewing with advanced techniques like working with stretchy fabrics, adding cuffs, or incorporating faux fur and recycled materials for a personalized touch.
7.1 Sewing with Stretchy Fabrics
Working with stretchy fabrics like fleece, velour, or stretch suede requires specific techniques. Use a walking foot or Teflon needle to ensure smooth fabric movement. Maintain a consistent stretch percentage for a snug fit. Pre-wash fabrics to prevent shrinkage after sewing. Utilize 2-way stretch for glove-like comfort. Follow pattern instructions for grain alignment to maximize stretch efficiency. Topstitch seams for durability. For cuffs, use ribbing or elastic to enhance flexibility. Incorporate stretchy materials for thumb gussets or finger sections. These tips ensure professional-looking, form-fitting mittens with optimal dexterity and warmth. Proper handling of stretchy fabrics elevates your mitten sewing to the next level.
7.2 Adding Cuffs or Ribbing
Enhance your mittens with stylish and functional cuffs or ribbing. Use ribbing fabric for a sporty look or repurpose sweater sleeves for a cozy cuff. Attach pre-made cuffs to mitten tops for a polished finish. Ensure cuffs fit snugly to prevent slipping. Topstitch cuffs for a professional appearance. Match cuff fabric to mitten material for a seamless look or contrast for visual interest. This detail adds warmth, style, and comfort to your handmade mittens, making them more versatile and appealing. Properly sewing cuffs or ribbing elevates your mitten design, providing a finished touch.
7.3 Incorporating Recycled Materials
Upcycle old materials like thrifted sweaters or fleece to create eco-friendly mittens. Cut patterns from recycled fabrics to reduce waste. Use sweater sleeves for cuffs or lining, adding warmth and texture. Repurpose stretchy knits for a snug fit. This sustainable approach not only reduces environmental impact but also adds unique character to your mittens. Ensure materials are clean and durable before sewing. Blend recycled fabrics with new ones for a balanced look. Upcycling fosters creativity while giving old textiles new life. This method is perfect for crafty sewists aiming to make a positive environmental impact with their projects. Transform discarded items into cozy, functional mittens for a greener wardrobe.
Where to Find Free Mitten Sewing Patterns
Discover free mitten sewing patterns on popular websites, sewing blogs, and social media platforms. Download PDF patterns for various styles, sizes, and fabrics from trusted sources online.
8.1 Popular Websites for Free PDF Patterns
Explore top websites offering free mitten sewing patterns in PDF. Platforms like Pinterest, Craftsy, and Etsy provide a wide range of designs. YouTube channels and sewing blogs also share detailed tutorials and downloadable patterns. Some websites specialize in seasonal or themed mittens, while others focus on sustainable materials. Many patterns are designed for beginners, with step-by-step guides. Websites like SewingPartners and FreeSewingPatterns offer curated lists of free PDF mitten patterns for different skill levels. These resources make it easy to find the perfect pattern for your next sewing project, whether you’re crafting for kids, adults, or as gifts.
8.2 Sewing Blogs with Free Downloads
Sewing blogs are a treasure trove for free mitten sewing patterns. Many bloggers share PDF patterns and detailed tutorials to help you get started. Blogs like SewingWithSarah and TheCozyStitch offer adorable mitten designs, often with customizable sizes. These blogs cater to both kids and adults, ensuring everyone can enjoy handmade mittens. Some bloggers specialize in upcycled materials, like turning old sweaters into cozy mittens. Their step-by-step guides and photos make the process easy to follow. Many blogs also provide tips for adjusting sizes and adding embellishments. Whether you’re a beginner or an experienced sewer, these free downloads are perfect for crafting warm, personalized mittens for the whole family.
8.3 Social Media Platforms for Patterns
Social media platforms are a fantastic resource for finding free mitten sewing patterns. Pinterest is particularly popular, offering a wealth of visual inspiration and direct download links to PDF patterns. Instagram and Facebook are also great for discovering creators who share free mitten patterns, often with tutorials and tips. Many sewing influencers post seasonal designs, such as cozy flannel or fleece mittens, perfect for winter. Platforms like YouTube also host video tutorials that accompany free PDF patterns, making the sewing process even more accessible. By following sewing accounts and joining sewing groups, you can easily find and download free mitten patterns to create warm, stylish mittens for yourself or as gifts.
Sewing your own mittens is a rewarding project that combines creativity with functionality. With free PDF patterns, you can craft warm, stylish mittens for the whole family easily.
9.1 Final Thoughts on Sewing Mittens
Sewing your own mittens is a rewarding and creative way to keep hands warm and stylish. With free PDF patterns, you can easily craft custom designs for any age or style. Whether you prefer classic unlined gloves or cozy fleece mittens with faux fur trim, these patterns offer flexibility. The step-by-step guides and photo instructions make the process accessible for beginners. Plus, the ability to use recycled materials, like old sweaters, adds an eco-friendly touch. The variety of sizes ensures a perfect fit for kids and adults alike. Start your project today and enjoy the satisfaction of creating something both functional and personalized!
9.2 Encouragement to Start Sewing
Starting your mitten sewing journey is easier than you think! With free PDF patterns and detailed guides, you can create cozy, personalized mittens for yourself or as thoughtful gifts. Don’t hesitate to explore different fabrics and styles—whether it’s soft fleece, recycled sweaters, or faux fur-trimmed designs. Sewing mittens is a fun and rewarding project that offers a sense of accomplishment. It’s also a great way to practice or refine your sewing skills. Embrace the creativity and enjoy the process of crafting something both functional and meaningful. Start today and discover the joy of making your own mittens!